ARTFULLY DONE: A SIMPLE GUIDE TO CURATING YOUR OWN GALLERY WALL
I confess - I am a big fan of gallery wall hangs in my home. They cater to my unapologetic love of maximalism. Whether its to display our family photos or blend in a mix of my own photographic work amongst a small collection of artworks, it just feels right to me to put them all up on the wall like I am living in a real-life museum of sorts.
A gallery wall, or salon wall as its also known, is your chance to turn a blank wall into a mini art show. It's a collection of your favourite pictures, prints, photos, or quirky finds all hanging together to make your space feel a little more you. Think of it like a personalized masterpiece, without the art-school price tag.
Whether you go for a neat grid or just throw everything up there in an effortlessly cool arrangement, it’s all about showing off your style and making your space feel like home. And the best part? You can switch things up anytime, so it’s always fresh!
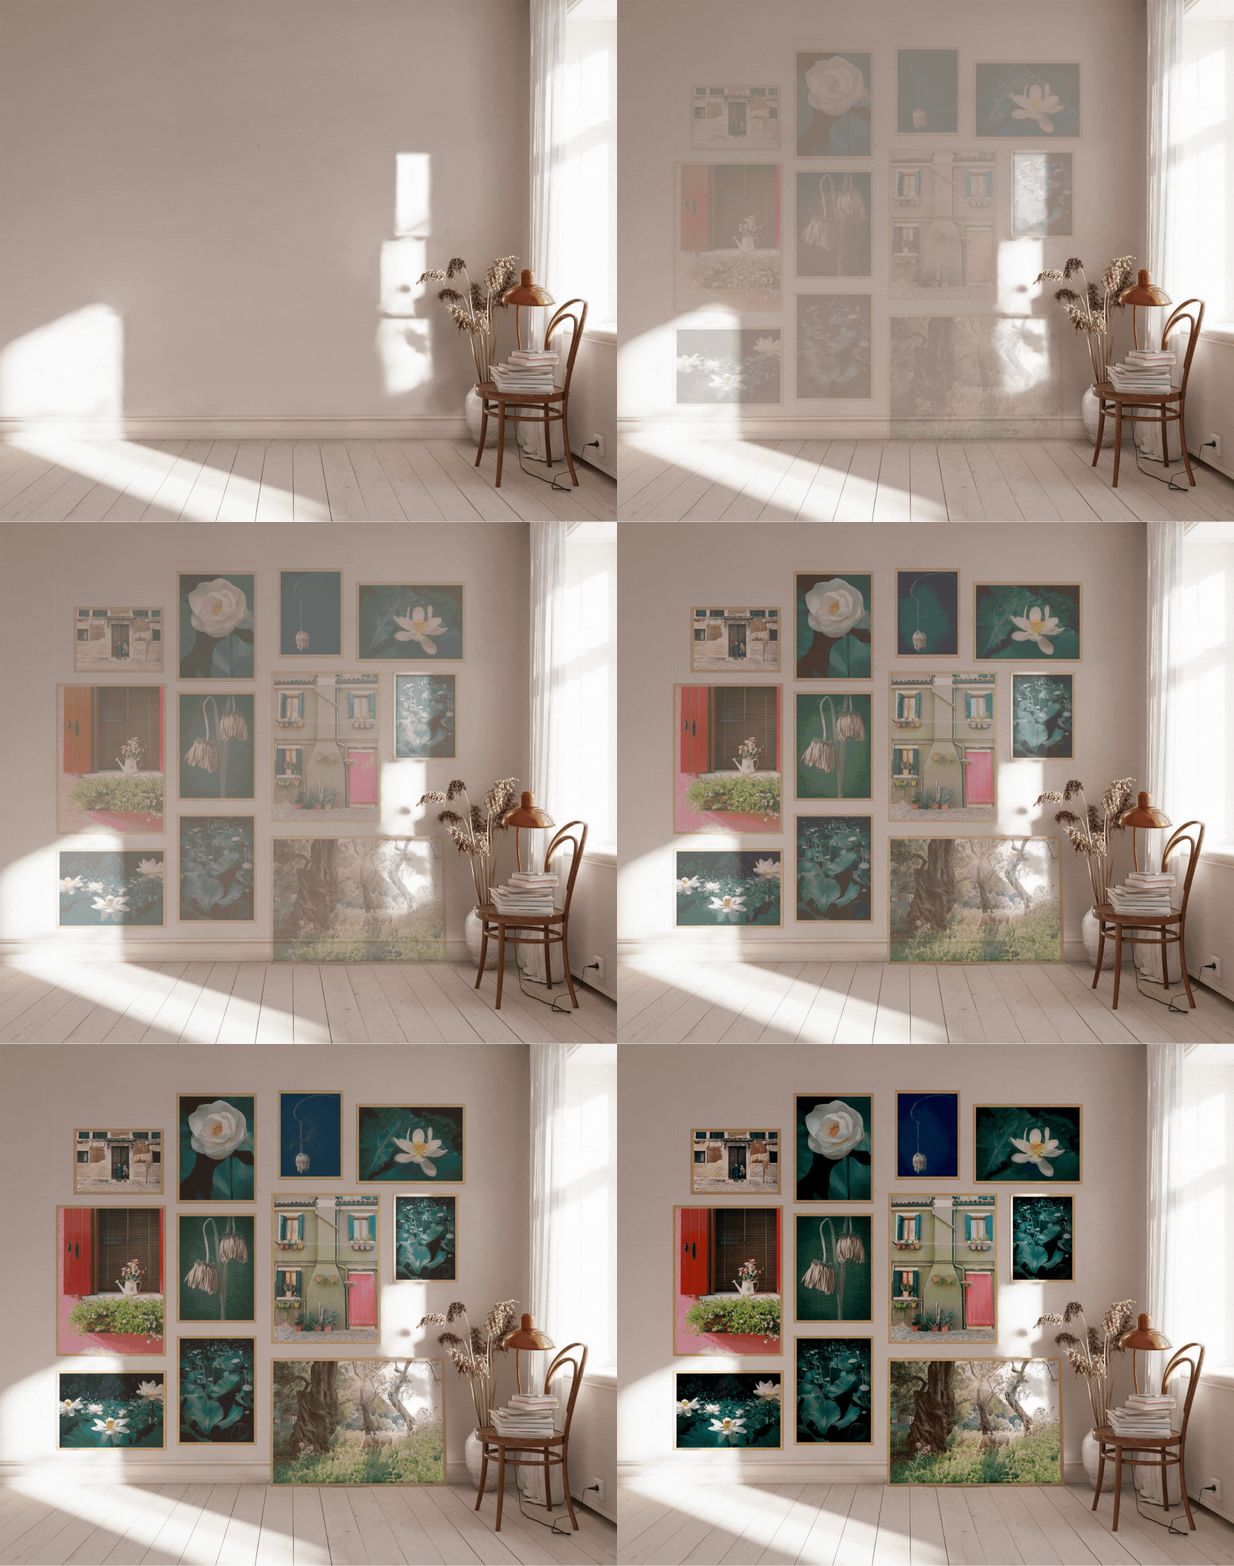
Decadent gallery Wall Inspo. Image credit Andrew Neel (unsplash.com)
IS A GALLERY WALL RIGHT FOR ME?
You want your home to reflect your vibe
Think of your gallery wall as a canvas for your personality. It's the perfect way to showcase your style, interests, and those quirky little pieces that make you... you.
You like to spin a story
Your gallery wall isn't just about slapping some pictures up – it’s about creating a visual story. Whether it's a collection of memories or a theme that speaks to you, let your wall do the talking.
You are looking to up the drama factor
Who said walls have to be boring? The colours, shapes, and scenes in your art can totally jazz up a space and give it that unique flair we all secretly crave.
Like a variety of styles?
Minimalist? Boho? A bit of everything? Your gallery wall can be whatever you want it to be. Throw in some vintage finds, family snaps, or even a couple of quirky doodles – the possibilities are endless.
It allows you to keep it fresh
The best part? You’re not married to the same wall forever. Swap out pieces as often as you like—seasonal changes, moods, or whenever you feel like giving it a refresh. It’s your space, after all!
You can start off small
You don’t need a collection that rivals ‘The Louvre’ to start your own gallery. A gallery wall can consist of 2 or 3 select pieces, that can be built upon. Start as small and as budget-friendly as you like.
SIMPLE STEPS TO TRANSFORM YOUR WALL INTO A STUNNING ART DISPLAY
Measure Up
You want to start by measuring up your space and consider how you might like to utilise the wall. Looking at the wall you are working with, think about how much of it you want to fill with artwork, keep in mind you want to keep some space in between frames so as not to overcrowd them and allow them space to shine. Take a step back and consider other furniture or key pieces in the room. You might like to hang your artworks around a piece of furniture like a small sideboard or around a doorway, for example.
So you an easily visualise the space you are working in, get some masking tape (or the like) and, on a bare floor or large table or bed, tape the area out that you have to work with. This will allow you to place and move your frames in the space without committing to hanging them yet.
Curate your artworks
Next you can make decisions on which pieces you want to hang together in your gallery wall. You might like to use colour as your inspiration to draw different pieces together. Genre could be another consideration - maybe you curate a wall of still life images, portraits or beachscapes. Or perhaps you want to choose tone and intensity or subject matter as your linking factor. In any case, having something that links your pictures together will ultimately give it a more curated feel.
This wall is a mixture of art mediums as well as genres, but they work well as a small gallery wall because of the subtle link between the blue and orange colour tones, tying them together nicely.
You can also experiment with mixing different mediums together; original artworks can look stunning next to editioned prints, personal photographs, ornamental items like mirrors or clocks and eclectic second-hand gems. Don’t feel like you have to stick to one type of medium only.
A mixture of original paintings, reproductions on stone, posters, photographic prints and shadowboxed insect specimen.
Start your layout with a centrepiece
Once you have a collection of artworks ready to go, pick out your largest or boldest piece as your anchor point, and plan out from there.
On this wall, we start with the largest piece in the middle, then work out our layout from there.
Next, laying them out on the taped out area you have pre-measured on the floor or a large table, start to play with the composition of them.
If you have 2 large dominant pieces, try to keep some space between them, and fill the gaps with smaller pieces. You might like to place your 2 largest pieces diagnoally from each other, to keep the composition dynamic and the eye moving.
When spacing out your artworks, the minimum distance between pieces should be relative to the size of the artworks - the smaller the pieces, the closer you can place them together. Similarly, the larger they are, the more breathing space they need.
Another thing to keep in mind, if hanging a gallery wall above furniture, remember to leave some breathing space; allow a gap of at least 15-30 cm from the furniture piece.
How high or low do you go?
A common question asked is how high or low should I hang my artworks? Ideally, the centre part of your artwork (or group of artworks) should sit roughly at eye-level. This means, on average, a height of about 150-170cm from the floor.
To Frame the Same (or Not to Frame the Same?), that is the question…
There’s no hard and fast rule here, and if you got a group of us together I am certain there would be oodles of opinions on this. However, here’s my thoughts….
If I am grouping a small number of pieces together (lets say 4 or less), I might choose to keep the frames similar, if not the same. Because the variety between them is less, having 4 all-together different frames will look less pulled together in this scenario and you will lose cohesion.
If however, I have a larger number of items on a bigger wall, I love to mix up the frames. My preference is to choose 3 different frame characteristics, for example, simple black, mixed with raw timber, and maybe a couple popped with gold, and I space them out across the wall.
Another idea is to have all different frames (like here, where all were sourced from op-shops) but paint them the same colour to tie them together.
View fullsize
A collection of family photographs all framed in different op-shop frames, but painted the same colour.
Lets shake things up
Adding art to your space doesn’t have to cost a fortune. Digital prints are a great, affordable option that also let you support independent artists. But if your wall is all digital pieces, it can sometimes feel a bit too polished or predictable. To shake things up, try throwing in a few personal or unique op-shop finds to make it feel more authentic and full of character!
Experiment with pieces from different series that reflect the story you want your walls to tell. Mix and match colors, themes, textures, and subjects to create a display that feels uniquely yours and showcases what you love.
Some practical tips
On wall mounts …
Renters will know that most landlords do not allow hooks or nails in walls, so your go to mounting option for small to medium (and even some largish sized frames) are adhesive hooks or picture hanging velcro strips.
Homeowners on the other hand have a few more options. Wall hooks are probably the most common, with d-rings or picture string installed on the back of the frame being able to hang directly onto them. When using hooks on particularly large or heavy frames, consider using two to distribute the weight. You also have the option of installing a picture rail-hanging system, which gives off a high-end gallery space feel. A horizontal rail is installed at the wall and ceiling join, and the artworks attach by clips to vertically hanging cables. The great thing about this option is you can change artworks in and out without punching a thousand holes in your walls!
On protecting your walls…
After experimenting with gallery walls on different wall colors throughout my house, I quickly learned how much havoc picture frames can wreak on a freshly painted wall—especially darker shades. The slightest bump from playful kids or pets can jostle a frame, leaving behind scuffs or even scratches over time. To prevent this, I always stick rubber or felt bumpers to the bottom corners of my frames. It’s a simple trick that keeps the wall safe from all the chaos and movement!
Hanging a heavy piece? Aim to anchor it into a wall stud, rather than only into your plasterboard. Using a stud finder will help you locate them.
Wall anchors are another great option—those little plastic, often white, screw looking things that often come with flatpack furniture! They’re surprisingly useful, providing a sturdier base for screws and helping to keep everything secure. Taking steps like this can save your walls from a potential disaster, like chunks of plaster tearing off if the frame doesn’t hold steady.
On how to avoid the wonky line…
Trying to nail a straight-line gallery wall but losing your mind over how to get it perfectly level? This trick from IKEA is an absolute game changer…
